An Upcycling Obsession
I love me a bit of DIY. I also love to upcycle. Originally, my obsession with upcycling was born from not having much. As a child I used to create my own doll furniture and clothes from scrap cardboard and old clothes that we had lying around the house. Twice, I converted entire rooms into little cardboard cities where I would enact all sorts of situations with little cardboard characters.
Now a days, my love for upcycling still ties to my thrift, but it’s more a caring for the planet thing. Upcycling does two things for our earth. One. it stops more resources from being plundered to create new things because you’re simply reusing resources that have already been extracted. Two, it reduces the amount our household contributes to landfill. I’m sorry to let you all in on this, but most recycling systems are tragically broken (an article for another day). Even if you follow all of the steps to recycle properly, you have no idea what actually happens to that waste. Recycling also uses a lot of resources as the materials need to be thoroughly washed, chopped and often treated with chemicals or heat before they can be reused. Ideally, I’d like to be able to take care of all of our waste myself.
Upcycling Candles
I call myself a witch so obviously candles are a big part of my life. My house is full of them. Over the years I have collected them, made them and hoarded them. Some of them were very cheap and a little nasty. Some had kind of melted and collapsed over time. Some had wicks that would not light. They were kind of just sitting there being ornamental dust catchers that smelt nice so I decided to breathe a little new life into them. It was a simple, fun and relaxing process so I thought I would share a little tutorial and my experience. Maybe next time you’re in the mood for a new candle you’ll shop your home and give this a go!

The Things You Will Need
This is a super easy project and I am sure that most of my fellow witches would have most of the things that you need just lying around anyway. The gemstones, herbs and petals are entirely optional.
- Old or unwanted candles
- Clean, empty tin cans
- A Large Pot
- A Large Knife
- Coat hangers
- Pegs
- Candle Wicks
- Gemstones, herbs etc. to decorate
- Scissors
- A small paintbrush
- A glove or cloth to protect your hands
- A suitable work surface
How to Make Your Own Upcycled Candles
Preparing Your Candles
Begin by preparing your candles to be remelted. On a stable, non-stick work surface, use your large knife to carefully cut up any of your large pillar candles so that the wax is in small, melt-able chunks. Cut around the wicks and remove them as you go. If you manage to salvage some good pieces, you can use them later! Place your chopped wax into the tin cans, keeping similar/same colours together. We will melt them down in the pot later.

If you have tealight candles, you can either use a lighter to heat the bottom of the holder up to melt some of the wax loose so you can remove it from the casing, or you can use your hands to gently, tap, squeeze, pull and coax the little tea-lights out of their metal holders. Again, remove any wicks and metal tapers and put your good wax into the cans. Keep the empty tealight holders… You can refill them!


You can also reuse old jar and container candles. Simply pop them into your pot of large water and take to the stove. Fill the pot with some water until the water comes around half way up the height of the candles. Pop the stove onto a low heat and gently warm your candles in this water bath until they begin to soften and melt. Once they have melted enough that you can pour them out, tip the wax into your cans along with any other wax you have of the same or similar colour. Carefully pick out any wicks or yucky bits. If the candle had a whole heap of herbs and crystals in it, you may need to strain the wax.

Melting The Wax
Once you have prepared all of your wax and assembled it in your tin cans, you can melt all of the wax in the pot on your stove. Place all of the cans into your pot, top up with more water if required and let it warm away on low until all of your wax is melted and liquid.

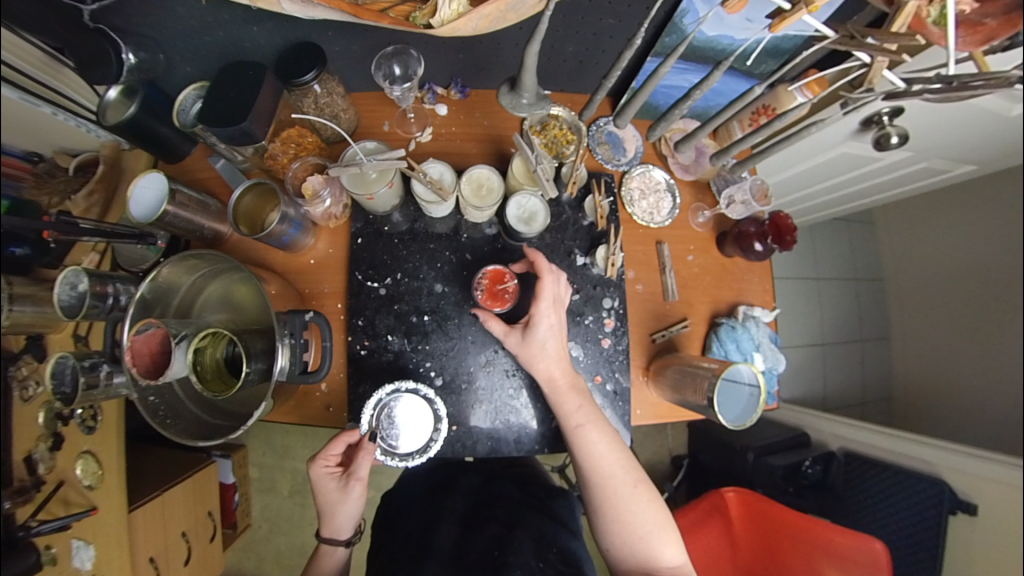
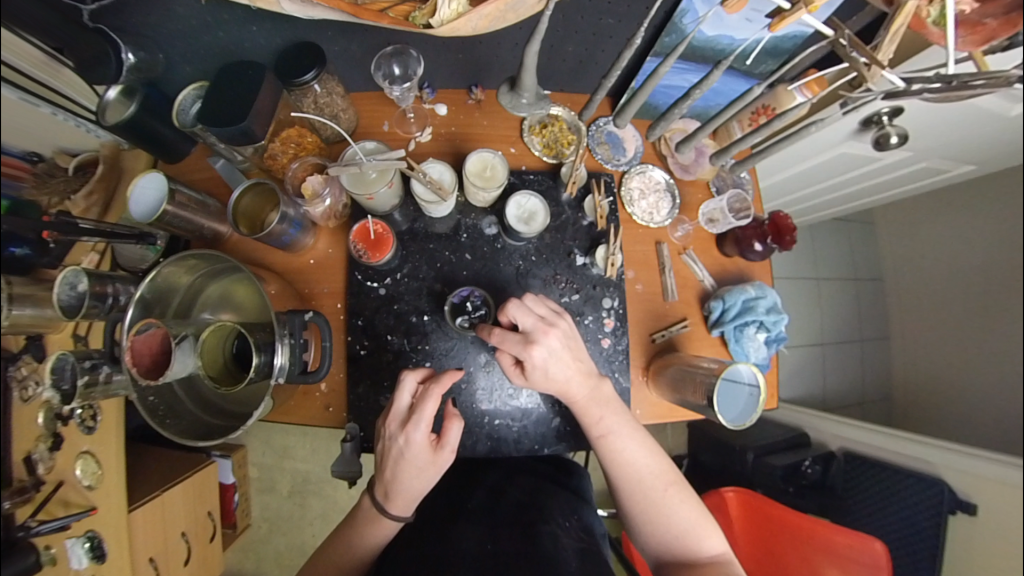
Creating New Candles
Once the wax has melted, you can let your creativity run wild! Cut lengths of wick to size to fit in your candle jars. Secure the wicks in place with a peg and then pour in the coloured wax of your choosing. Use a glove or cloth to cover your hands when handling the tin cans straight out of the pot… They will be hot! Return the cans to the pot when not pouring so the residual heat in the water can keep your wax melty for longer.

If you want to refill your old tea-lights, just use the same method. You could add oils to the wax for mini scented candles!

Keep in mind that your poured candles will shrink as they cool and you may need to top them up with more wax later, so keep some handy!!
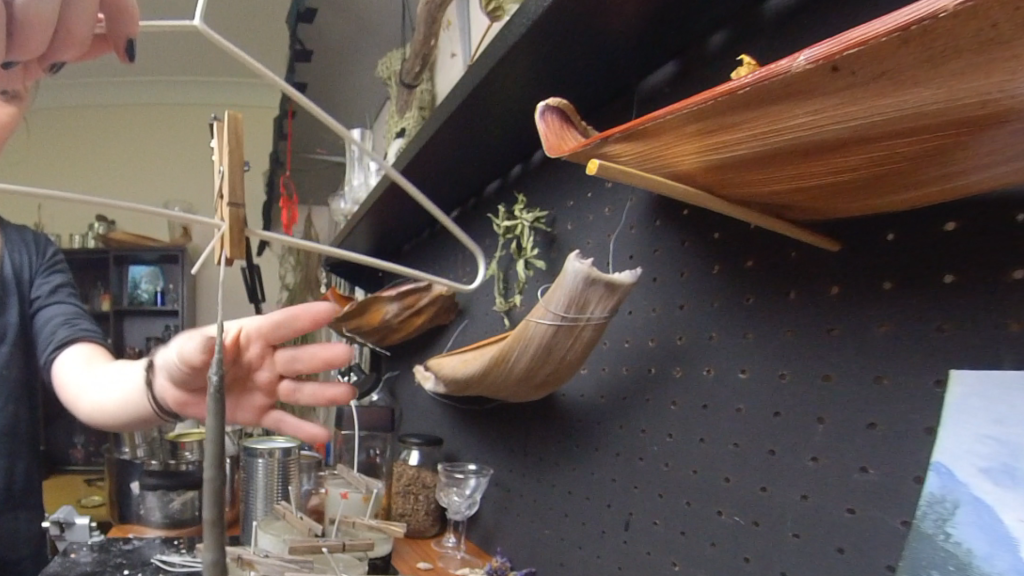
To create taper candles, simply cut a piece of wick to the desired length and then begin dipping it, once in your melted wax and then into a tin of cold water to set the wax. Repeat this process until the desired thickness is achieved. You may need to straighten and shape the candle slightly as you go… just do this with your hands. Once you are happy with the size and the shape of the candle, take one of your coat hangers and use a peg to attach your candle to the hanger. Then just pop the hanger up somewhere out of the way until the candles are fully cooled and set.

Creative Decorating Ideas
Now that you have made your new candles, time to get to the fun part… Decorating. This where you can use any small crystals, dried herbs, pressed flowers, eggshells, salts or little charms you desire. Just make sure that you do not ad things that may turn toxic when burnt such as plastics or acrylic glitters. It is also important to note, when adding herbs and other flammable items to your candles you should do your best to ensure that the flammable items will not come into direct contact with the wick. Also please bear in mind… Candles should NEVER be left unattended, and in the case of homemade ones like these, that is super important to remember.
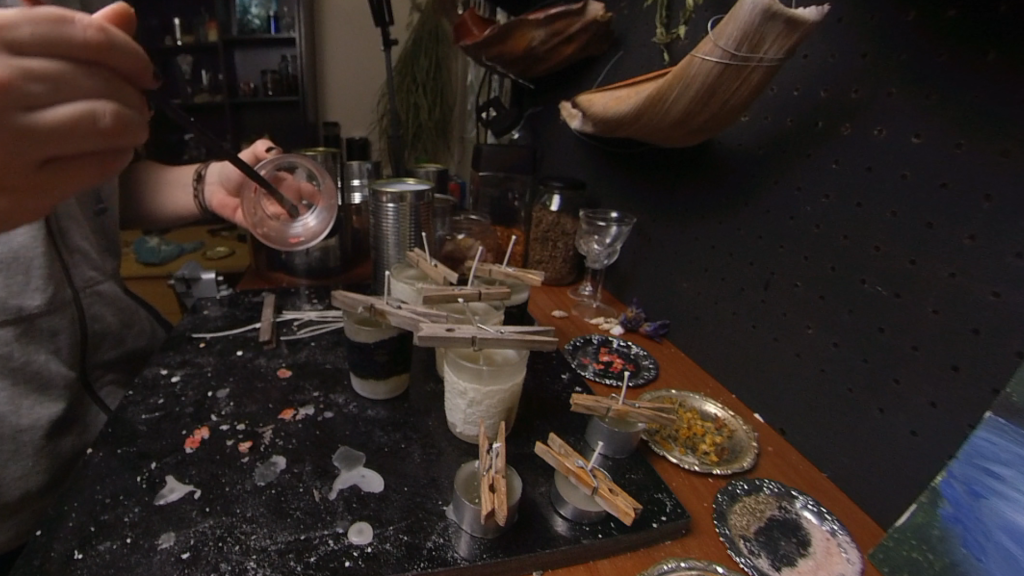
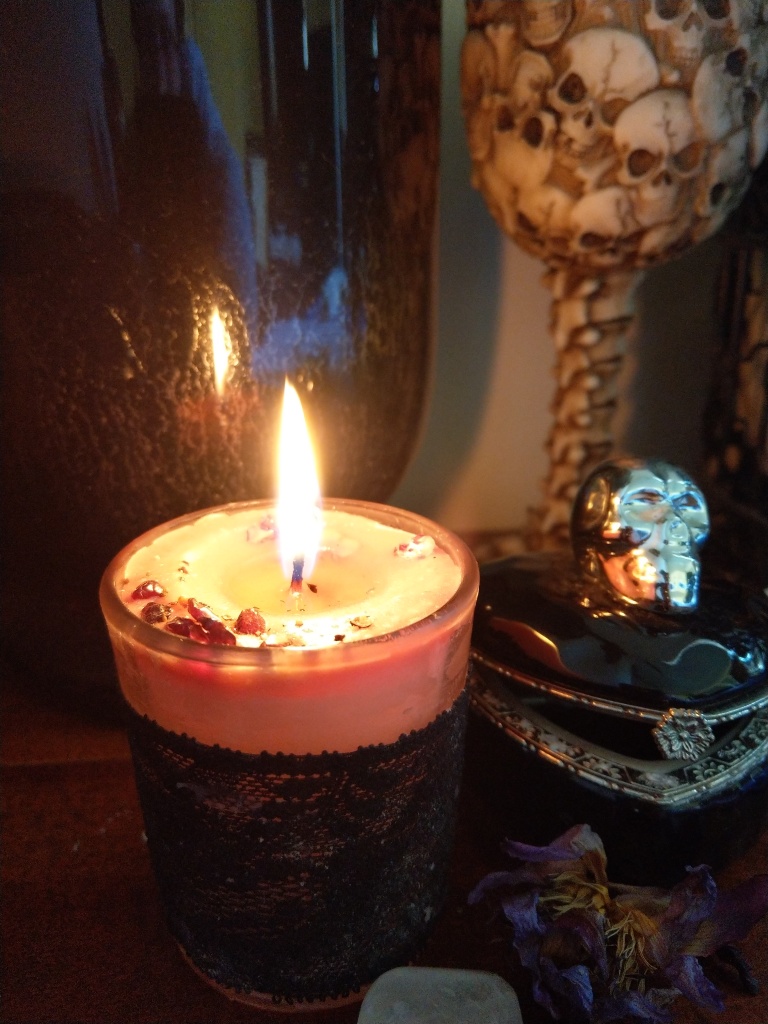
Ok… that’s the boring part over, let’s have some creative fun! For your poured candles, add an extra little layer of wax, you can use any colour you like. While the wax is still wet, carefully drop or place your gemstones, herbs and flowers onto the wax. You can play with any colour and material combinations you like.
You can also use old condiment jars and create beautiful jar candles with pressed flowers arranged on the inside. Hold your jar horizontally in your hand with the opening towards you. Carefully place a pressed flower into your desired position on the inside of the jar, dip a paintbrush in some melted wax and drip the wax onto the flower to hold it into place. Once you have created the design you like, you can prepare and fill the jar as you did for the other jar candles.

You can also decorate your taper candles. This is a great way to make spell candles as they burn reasonably quickly and you can tailor the color and what materials you add based on your intentions. All you need to do is pour your selected decoration material onto your work surface, take one of your set taper candles, dip it in melted wax and then roll it in your decoration. Dip the decorated candle in wax one more time and set in cold water to seal your materials onto the candle. I made four candles for the candelabra on the family altar in my home. My intention is to protect my family and attract joy and abundance into their lives and to honor my ancestors. I made one candle for each of these intentions. I used crushed eggshells on one candle for protection, marigold petals on another for joy, basil flowers on another for abundance and poppy seeds on another to honor my veteran ancestors.


I also got a little inventive when making one of the taper candles and started molding it with my hands. I pinched the bottom out to give the candle a brim and then kept dipping and molding until it looked like a witches hat.


Release Your Creativity
One thing that I love about this project is that almost anything can become a candle!! I have used tin cans covered in broken CD pieces, shot glasses, shells and old candle holders. You do need to be careful that your chosen containers won’t catch on fire, melt and crack, but these are your only limitations. I’ve seen really amazing candles made from old wine bottles, teacups and more. Below are some examples of my creations.


Need More Guidance?
This is my first how-to article and to be honest, I’m not totally sure if I explained things properly! If you would like to watch a video tutorial instead, I had a go at that too. It’s my first DIY video, so I hope you like it!!
Our Planet Needs Our Help
I mentioned at the start of this article that I upcycle not just because it saves me a tonne of money, but also because it is something that I as an individual can do to help our planet. I understand that we all have our limitations and that some people are very busy. Upcycling isn’t an option for everybody and I totally understand this. I do however encourage everyone to try and live just a little more consciously. Take pause before you purchase to think whether or not you really need to buy new. Can you purchase the same item second hand or do you have the resources to make it? Before you just throw something in the bin or the recycling, consider where it might end up. Also try and think for a minute about how much our planet had to give to produce said item before you just discard it as trash. Think about the people in developing countries that may be affected by how much and what you purchase and where your waste ends up. My home was built on landfill and glass, bottle caps, plastics and cigarette butts constantly emerge from the Earth. That’s in a middle class suburb in Australia and not even all of our waste is processed here. Much of it ends up over seas. Even the things you think you recycle (cash for cans) sometimes end up being sent to third world countries where they blow about villages. I am sorry if this is a downer at the end of this article, but I really want everyone to be aware that we are drowning in our own filth and we all need to do as much as we can to reduce our own impact.

On A Lighter Note
To conclude this little article, sharing one of my favorite craft projects and biggest passions, I would like to encourage you all to share your projects too! If you try making candles using these instructions let me know!! Tag @thecalderawitch on Instagram with your photos, comment here, send a message, drop me a link on Youtube, whatever… I just want to see your beautiful creations!!! I’d also love to hear any cool upcycling ideas or environmental info that you may have. I hope this article gave you a great project to enjoy and a little something to think about.
Wishing you love, light and a blessed day. With the best intentions, from The Caldera Witch a.k.a Sophie Hope.

Upcycling candles is an example of many more that are around us that can be usually recycled instead of upcycled. Thank you, Sophie!
LikeLike
You are very welcome!
LikeLiked by 1 person